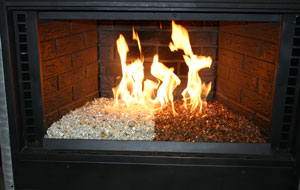
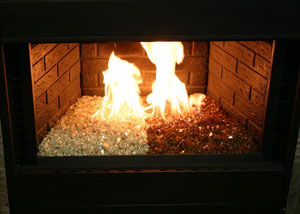
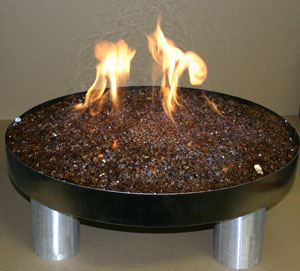
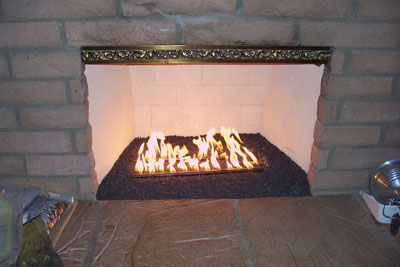
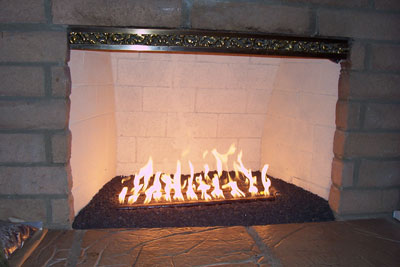
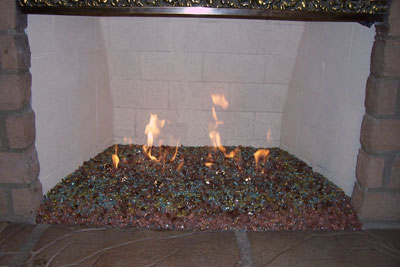
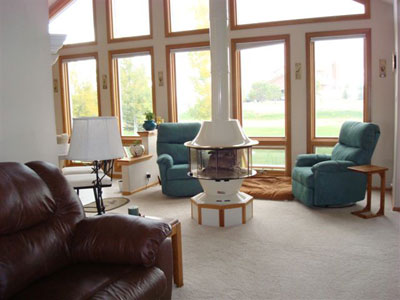
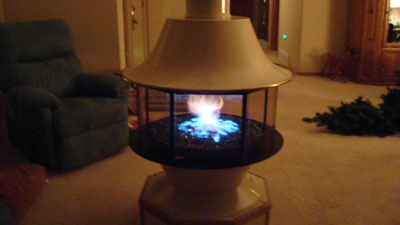
The fireplace below is a
Malm Carousel Fireplace. We replaced the attempted dual burner which it was originally installed with with a simple 12" steel ring.
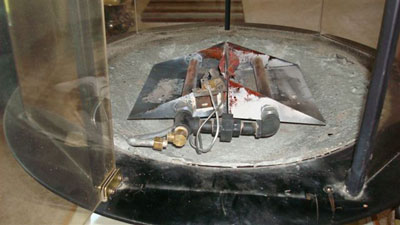
This fireplace has a safety pilot light kit which was still left intact for local code reasons but we did get rid of the non functioning pan burners.
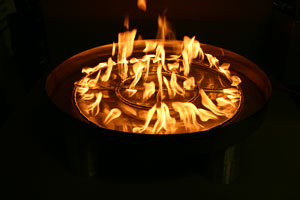
With the doors closed just enough as you can see now they can control the hurricane/ tornado effect!
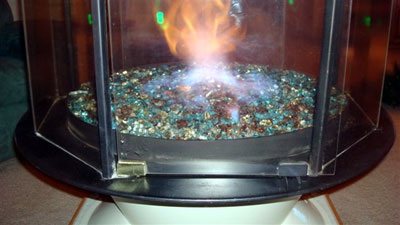
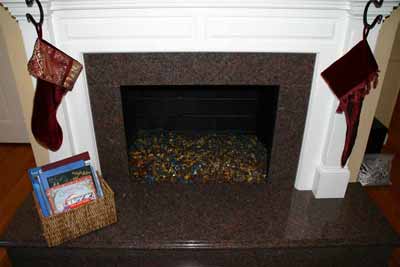
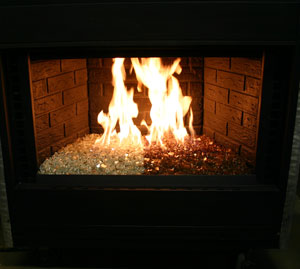
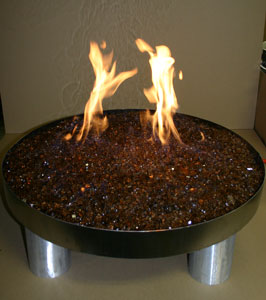
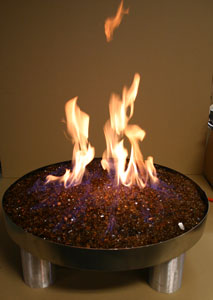
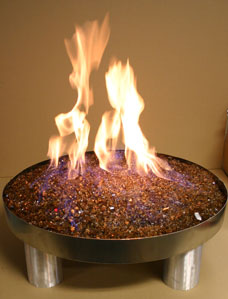
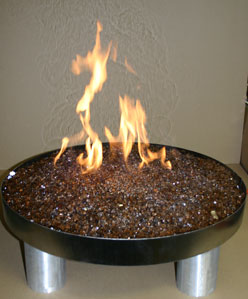
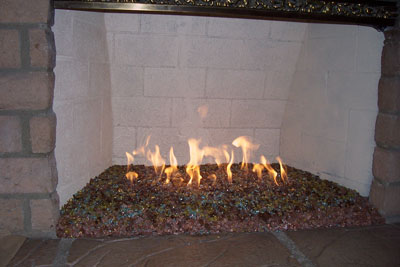
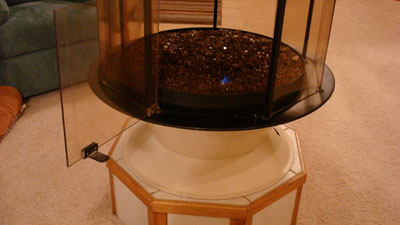
The fireplace below is a self installation by Thom Toben of Studio T2 Designs in Kansas. & colors were installed and they are;
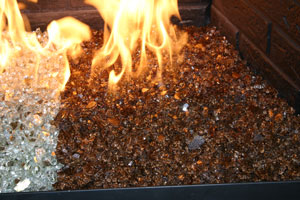
Clear Base Glass with Starfire Base Glass mixed together over
Medium Amber Topping
Bronze Rust Copper Base Glass
Black Luster Topper
Yellow Amber Topper and
Turquoise Blue Topper
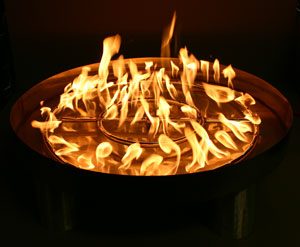
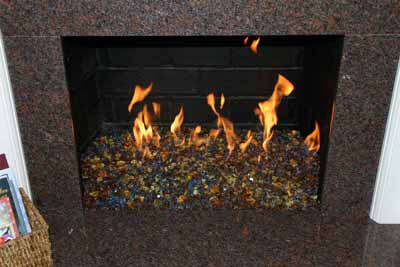
You be the judge, we think it looks great!

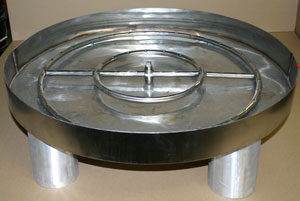
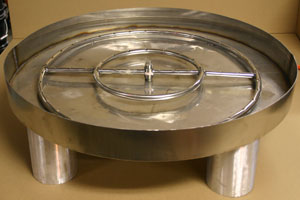
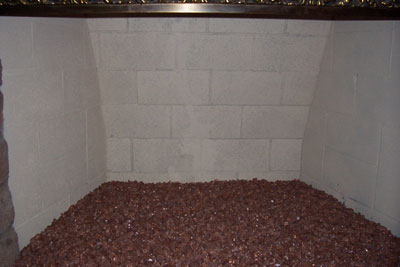
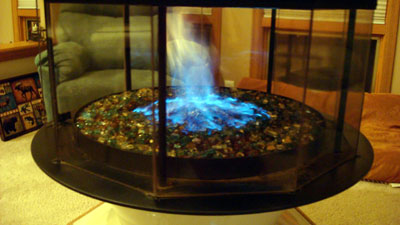
Below the burner is installed with the flex line under the burner

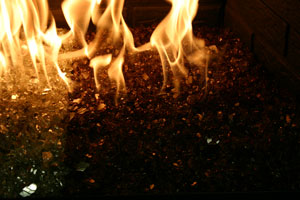
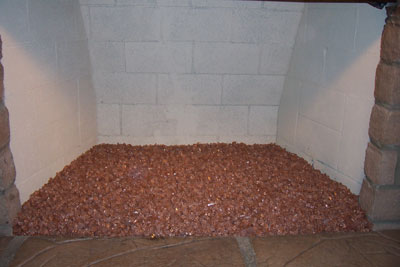
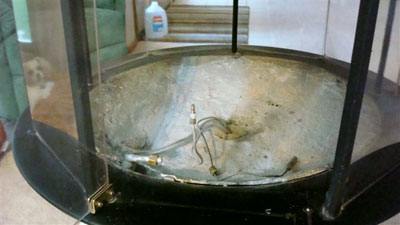
Now the lava goes in and the burner is brought up to the surface

Test the burner to insure the flame don't hit the back wall.

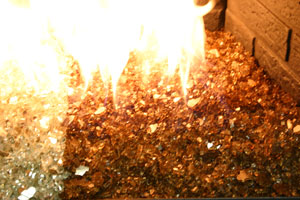
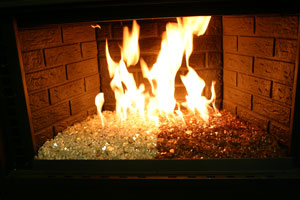
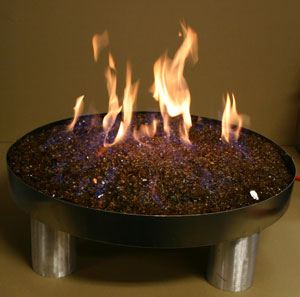
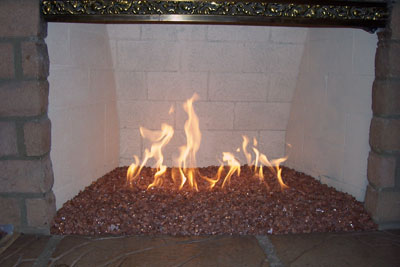
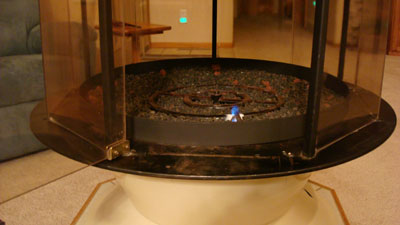
The Clear Base Glass and Starfire Base Glass was poured on top of the lava.

Then Thom placed all of the other selected to match the room.


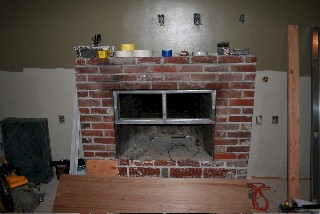
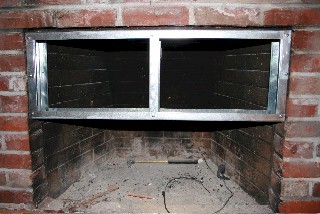
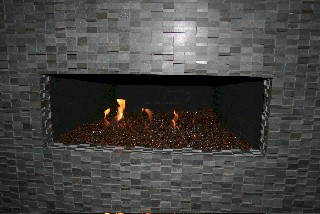
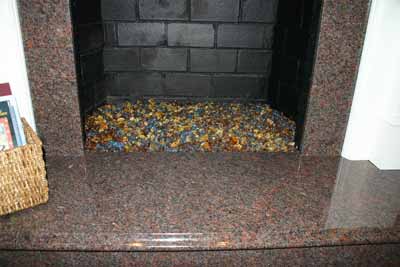
The next few pictures are from New York by Jai Crandall for Tom Morgan. We can hep transform an eye soar to a place of enjoyment. Just watch!
November 10, 2009
Hello Ed, my name is Jai Crandall and I live in central NY. I have a good friend (Tom Morgan) that has a patio that he generally uses wood to throw some heat for his quests when he entertains. Unfortunately, as I'm sure you know, the smoke can really get to you after a while. This is a very high end home and he entertains for some very important people. He would like to eliminate the wood a replace them with some propane inserts. It doesn't have to look like a fireplace, but most importantly, it needs to throw some intense heat.
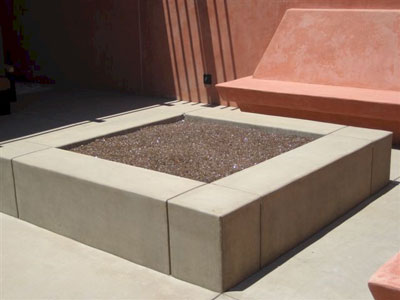
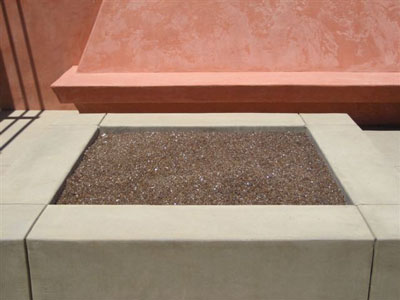
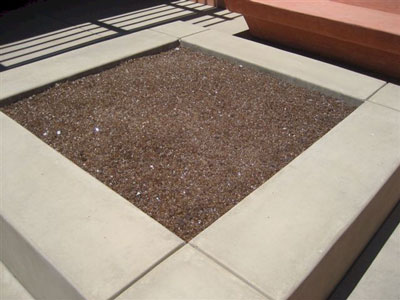
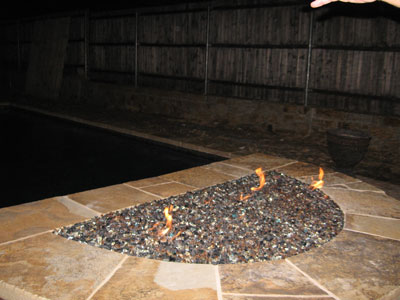
Pictures 1,2 and 3 are the front views of the fire pits and as you will notice they are not square ( each picture is labeled with the dimensions), they don't need to stay like they are, so if you want to make them square you can. Just go by the front measurement. Hopefully you can design something that will fit there needs.
I am sure that they are going to want electric ignition, and you can try to place the control valves in the front. Also, with the good New York weather, you want want to have covers for each unit.
Thank You so much for your time and I look forward to working with you to complete this project.
Jai Crandall
July 3, 2010
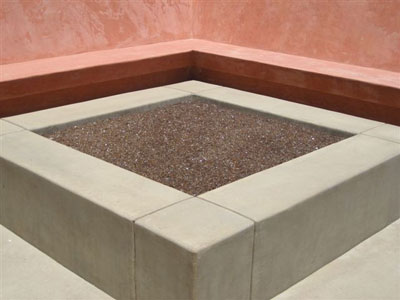
Now here are the finished pictures on the property. Very nice!
Hey Ed, Here are some pictures of the burners that I installed. They look great and they are very happy with their performance. Also, I believe that I may have a few more people interested in something similar to what I did for Tom Morgan. Have a great forth weekend and I will talk to you soon.
Jai


That's what I said when I first saw the project, YUK!!!! I tried to figure out what to do????


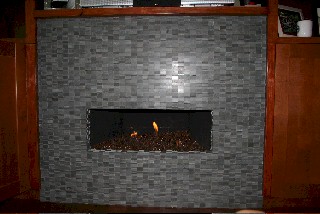
Jai came up with the Stainless Steel hollow base design and we went to work.


This is a happy ending!