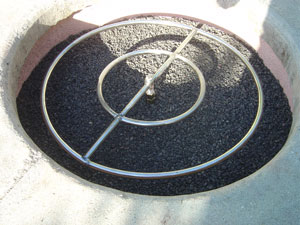
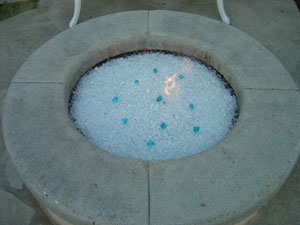
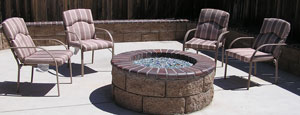
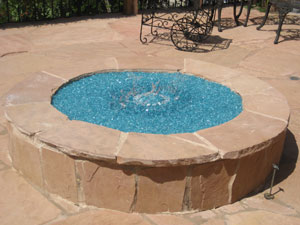
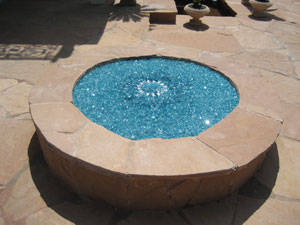
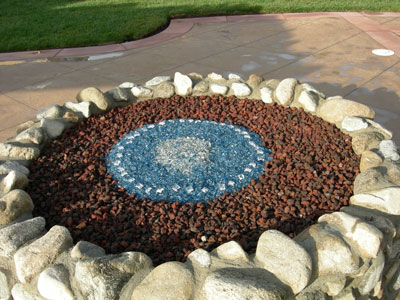
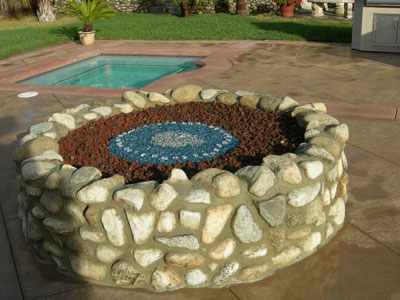
A typical lava rock fire pit converted into a
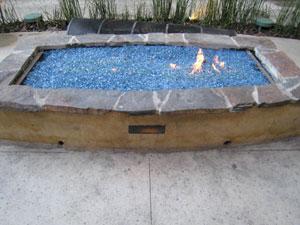
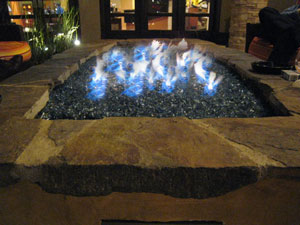
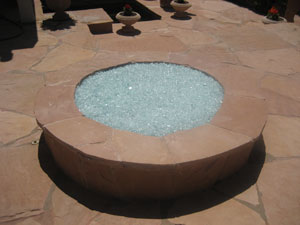
Ford Blue Base Glass,
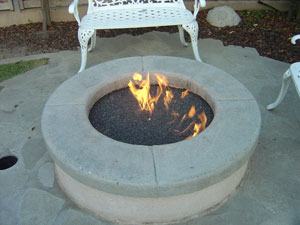
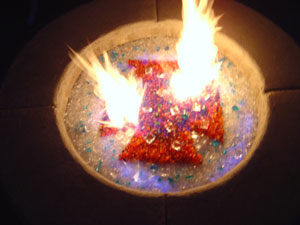
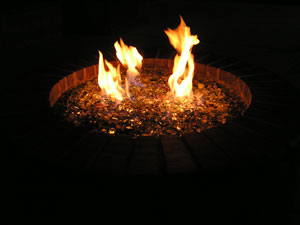
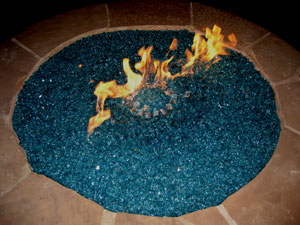
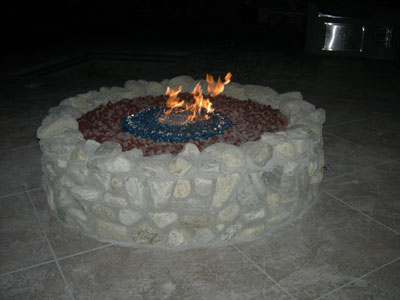
Azurlite Base Glass FireGlass Fire Pit; with Triple Ring Burner. By daylight the fire pit is far better looking than it was, when it was dirty Lava Rock pit. But the real magic is of course at night - check out how awesome this fire FireGlass looks!
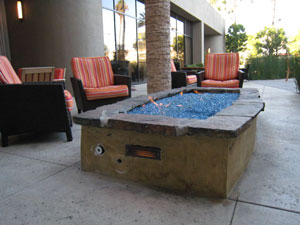
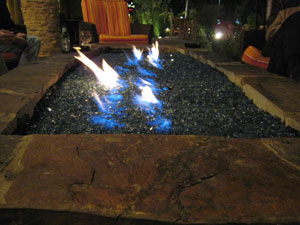
This old fire pit at Torrance Marriott in California gets a new lease on life when converted with
Ford Blue Base Glass FireGlass along with two 44" stainless steel "H" burners and remote control. Below you can see the old burners.
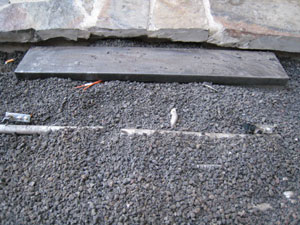
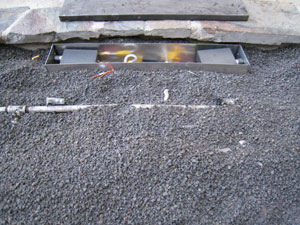
We cut a little bit of concrete and placed the valve in properly. We then cover the larger lava rock with our
crushed lava rock
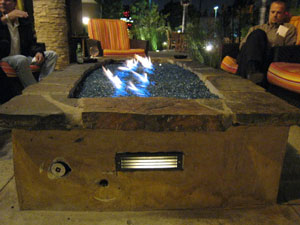
Now we install our twin remotes inside the box protected from the weather.
Finally pour 1.5" worth of
Ford Blue Base Glass to cover the lava and burners. And keep in mind that for outdoor use you will want to use stainless steel burners and parts to avoid rusting.
Once the glass covers the box, it looks nice. To replace the batteries, move the glass on the top and the rest is simple.
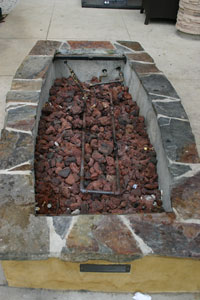
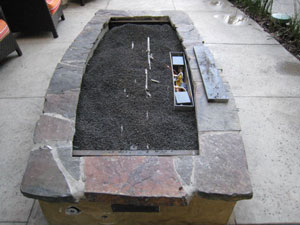
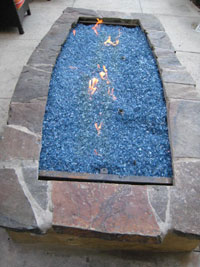
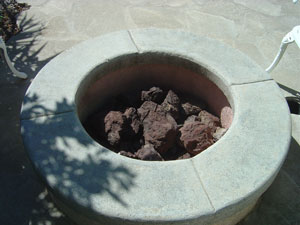
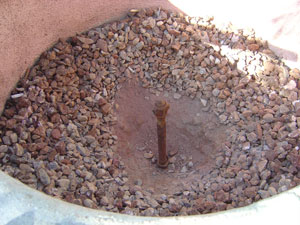
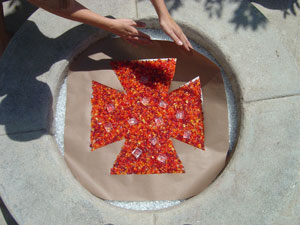
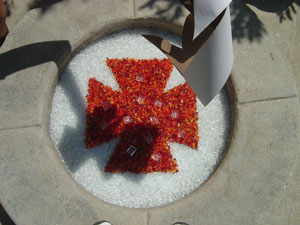
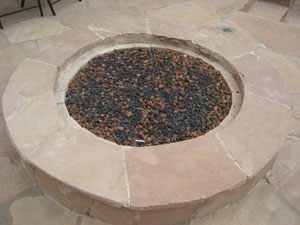
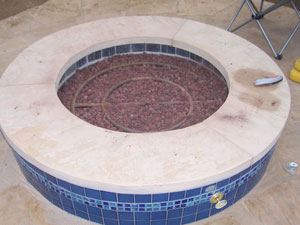
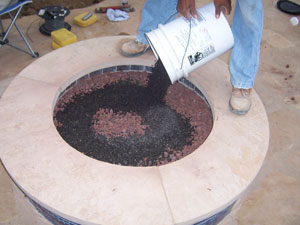
Here is a classic example of a traditional lava fire pit before it undergoes the conversion process to a contemporary Fire Glass Fire Pit.
Now filled with lava rock (crushed 1/4" 3/8") over 3/8" 1/2" crushed. Remember the larger is under the smaller to keep the glass from falling through.
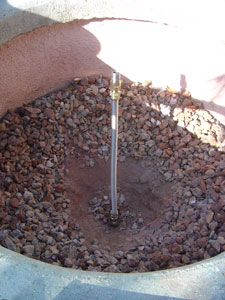
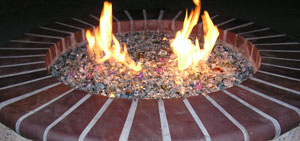
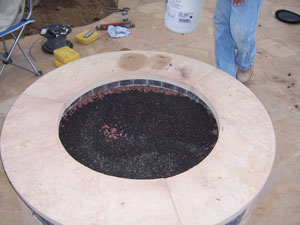
Above a flex line was installed to raise the ring to the surface. You don't want to leave the ring at the bottom unless you want an explosion or if you want to get rid of the significant other.
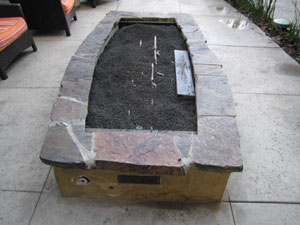
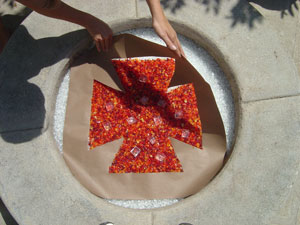
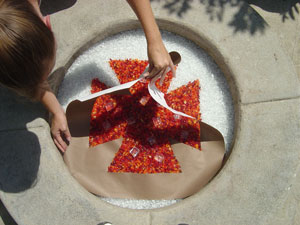
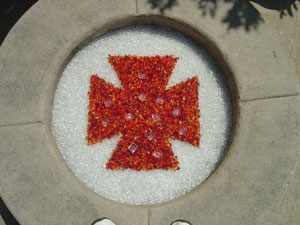
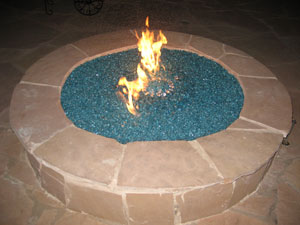
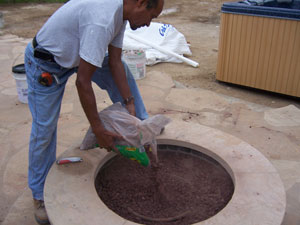
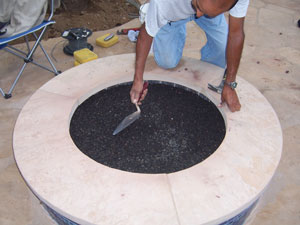
Pour more crushed lava to make the desired shape of the fire pit and test burn for flame pattern.
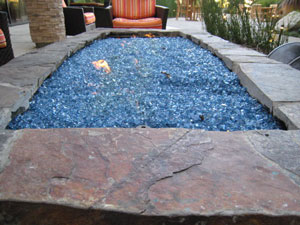
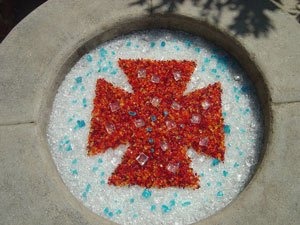
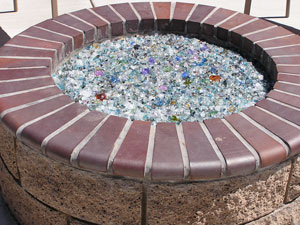
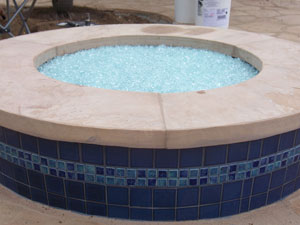
Starfire base and a few other colors were added Azurlite Base Glass, Scarlet Topper, Red Topping, Ice, Copper Blue Topper,Copper Blue is a chameleon as when it gets hot it turns green and when it cools it turns back to blue!
Pretty creative!
Great job and very creative.

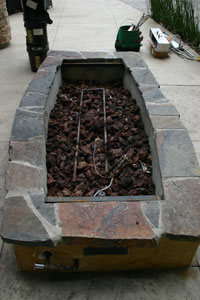
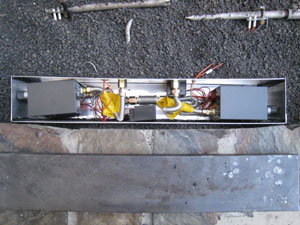
The fire pit below is in San Diego California. First we built 2 new half oval stainless. steel rings. To replace a futile attempt of burner rings by the contractor. If you don't want your rings to rust, cover them or purchase stainless steel. We will explain as we move on.
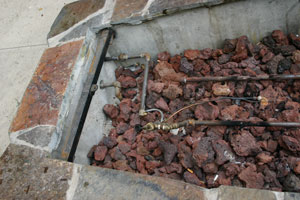
We converted the mishap of rings with two valves, one for each ring. The first issue was the contractor installed a1/2" gas line, oops. Way too small for the distance. The home owner had to have the pressure turned up by the gas company. Sometimes this is not possible. We spit one line into two. This enabled us to equalize flames in each burner half. Here are the two half oval rings.
Below are the two key valves.